Fun family project!! Ages 5 and Up. Create your own ornaments in any design to make your house more festive and unique. Or give them as gifts! Great way to use up your fabric scraps.
What you'll need:
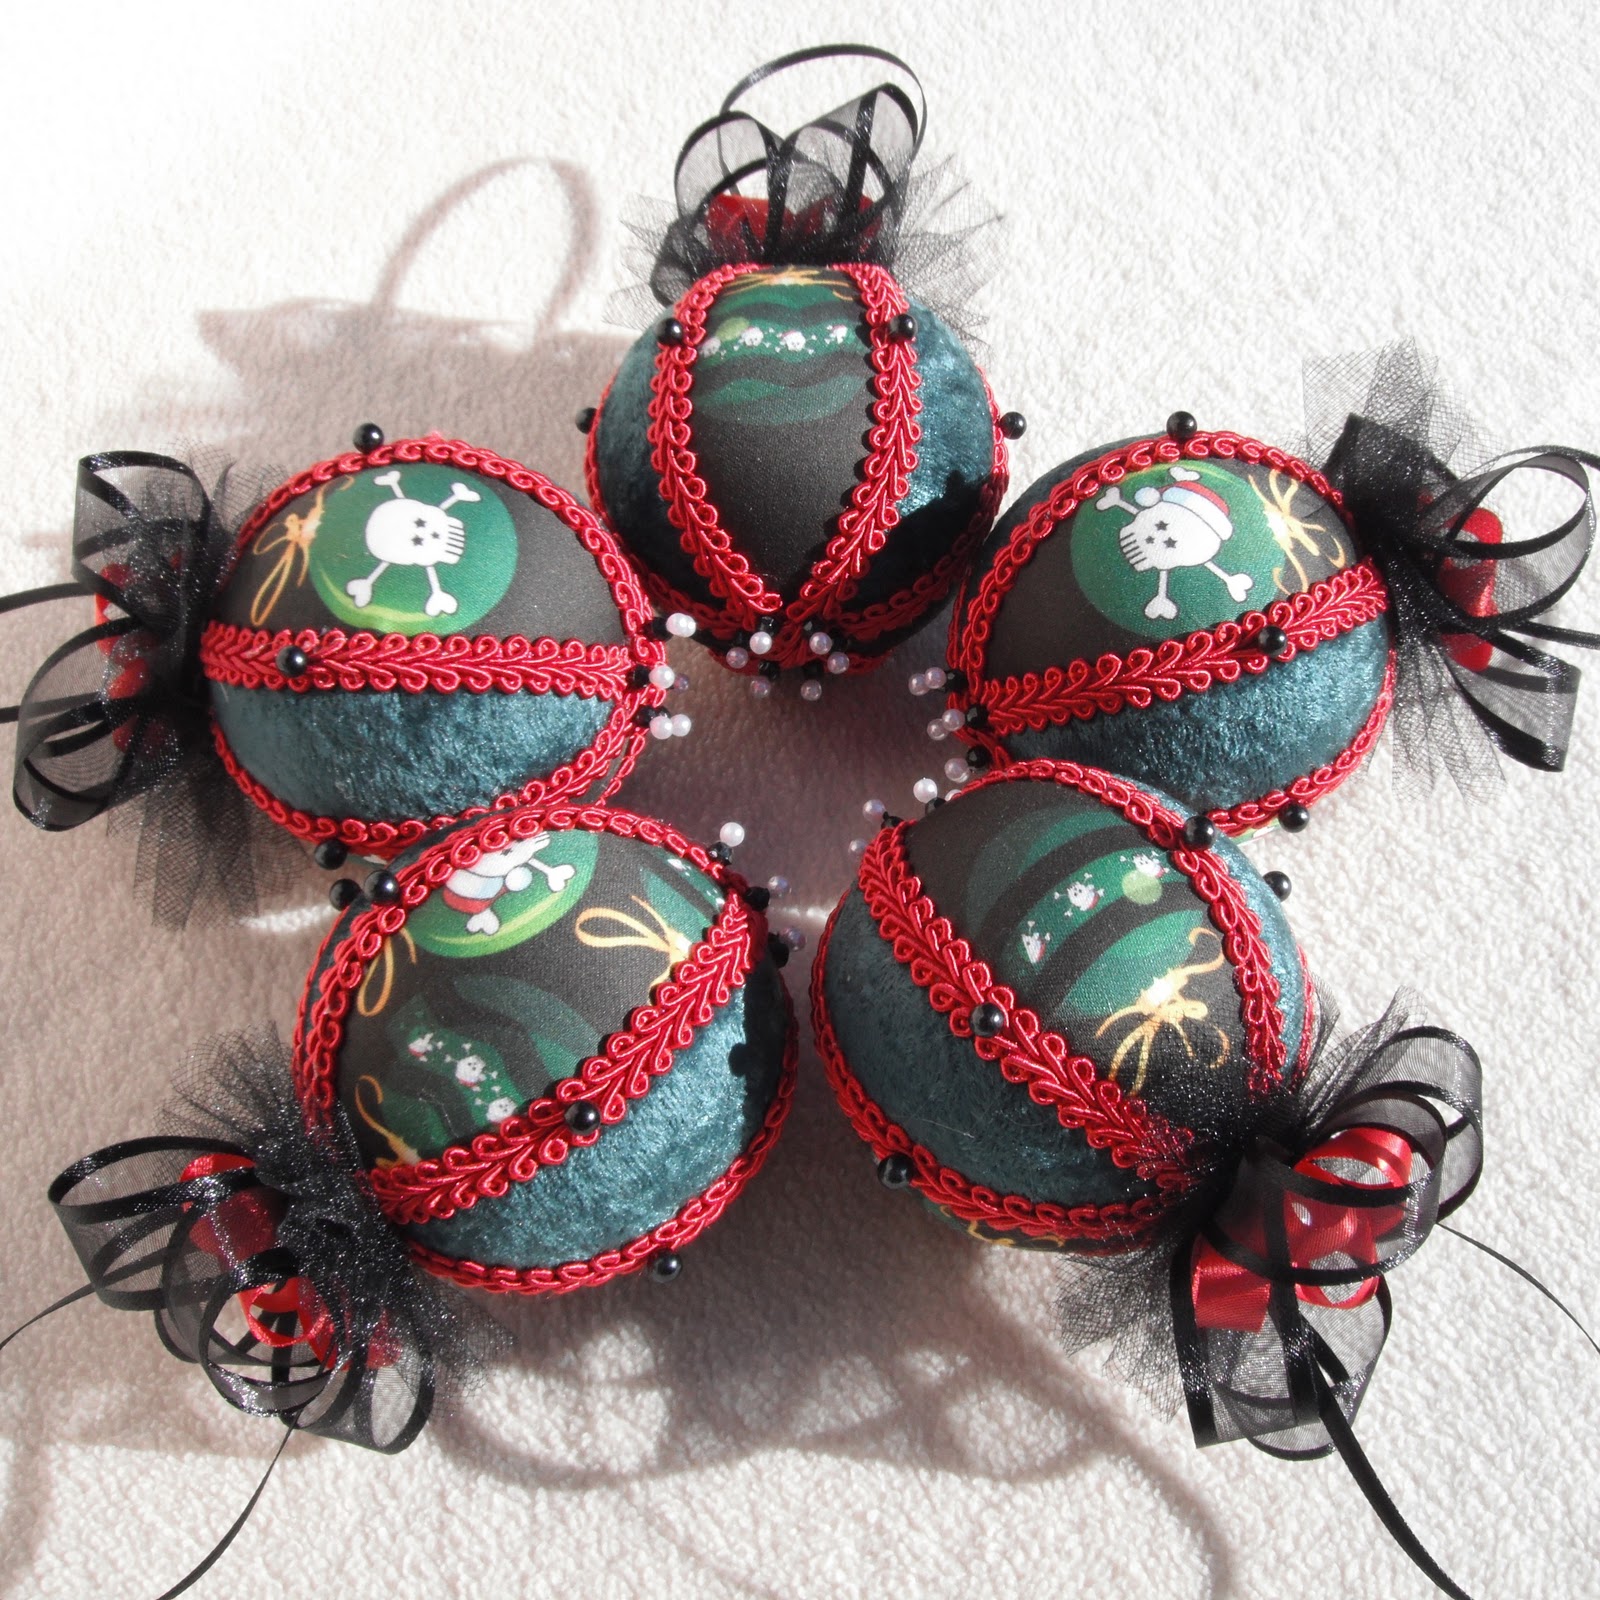
- Styrofoam balls (I used 3" found them on Amazon https://amzn.to/3BX9pin 40 for under $15 much cheaper than local craft store)
- Decorative fabric cut into marquise shapes.
- Minky, velvet, or other solid color fabric cut into marquise shapes.
- Ribbon assorted sized for bows on top (I used 5/8" Organza Satin Edge Ribbon 1 - 13 to 20" per ornament and 3/8" Solid colored Ribbon 1 - 10 to 15" per ornament)
- 1 - 8 1/2" Ribbon to hang per ornament (I used a combination of 1/8" satin ribbon and 3/8" satin ribbon)
- 2" x 24" Stripes of Tulle - 1 per ornament (Optional I used Red and Black Matt)
- Fabric Scissors (https://amzn.to/2WXa2Js)
- Craft Knife (https://amzn.to/3l4XGY4)
- Trim assorted colors and sizes to match your fabric, 3 - 9" pieces per ornament (I used a combination of 3/8" -1/2" Gimp Cord Trim, 3/8" Eyelet Trims, 1/8" Satin Trim, 4mm Strung Craft Pearls, and Straight Cord Trims)
- Glue Gun and Glue Sticks (https://amzn.to/3zUTi41)
- Lots of corsage pins at least 14 per ornament (I used a combination of 1 1/2" Round Pearl Head Corsage Pins, 1 1/4" Round Royal Blue Round Pearl Head Corsage Pins, Lomey 2" Black, White and Pewter Pearl Round Head Corsage Pins https://amzn.to/3tqdgRJ)
- Pen
- Assortment of beads for tassels (Optional)
How to make it:
1. Locate the center of the top and bottom of the styrofoam ball. Mark with a dot (most balls with have an imprint at these points where the ball was molded) Mark a piece of trim at 1 /14", 3", 4 1/4", 6". 7 1/4" and 9" wrap the around the ball and mark those placements onto the ball. Using the Dots on top and bottom connect them round using those placements you should end up with 6 divided sections. 3 smaller 3 larger.


3. Cut fabric using the pattern trim as needed.


11. Put hot glue on the top of the ornament and press the pin with bow through before it dries.
12. Create 3 dangles if desired by stalking pretty beads onto either pieces of string or head pins. Make sure the fatter beads are toward the bottom. Attach each string of beads to a corsage pin and hot glue into place on the bottom of the ornament in the centered in the middle of the 6 beaded pins.


There are lots of different variations of styofoam ball ornaments. Have fun and experiment!


I AM LEGALLY BLIND BUT ABLE TO DO THIS CRACT. IT IS "FORGIVING" AND MISTAKES CAN BE CORRECTED WITH CORCING AND RIBBON. I HAVE EVEN G,UED THE FA RIC ON WITH MODGE PODGE THEN USED THD CORDING/RIBBON O ER THE SEAM MARKINGS.
ReplyDeleteIMAGINATION TAKES OVER AND THERE IS NO END TO MAKING THESE BEAUTIFUL BALL. D. SHAW ARKANSAS
Crafting is so much fun and so many different ways to change and personalize.
Delete