Fun family project!! Ages 5 and Up. Create your own ornaments in any design to make your house more festive and unique. Or give them as gifts! Great way to use up your fabric scraps.
What you'll need:
- Clear ball ornaments (I experimented with 2 sizes, 3 1/4" and 2 5/8")
- Scrap fabric cut into different shapes (I used circles and marquise shapes)
- Decoupage Solution either Mod Podge or Craft glue (I used Mod Podge Matte)
- Water
- Paintbrush
- Mod Podge or Clear acrylic sealer
- Clear Glitter
- Ribbon
- Sparkle Garland in different Colors (Optional)
- Scissors
- Glue Gun and Glue Sticks

How to make it:
- Remove hanger tops and set aside. Place ornaments onto an upside down empty egg carton.
- Cut fabric to shapes and sizes desired.
- Cover work area with paper for easy clean up.
- Place the glitter in on a large tray (Cookie sheet works great)
- Open Mod Podge pour small amount into a container. Or Mix 2 parts white glue and 1 part water to make a simple decoupage solution. Should be thin and paintable.
- Brush the Decoupage Solution onto the back of 1 piece of fabric. Place the fabric piece on the ornament, then paint more solution over the top of the fabric. Repeat with as many pieces as you want all over ornament and let dry completely.
- When dry coat the entire ornament in Mod Podge (minus the area the hanger gets reattached to) and roll in the clear glitter. It will look cloudy at first but it dries clear!
- When it is completely dry fill the ornament with cut stripes of sparkle garland.
- Reattach hangers tops to the ornaments and tie ribbons onto hanger loops to hang from your tree. You can accent the tops with lots of ribbon, bows, feathers or any material you like.
Step 2
My Cut Fabrics

Some still need to be trimmed down. I custom printed my fabric into the shades, sizes and designs I wanted.
But you can just as easily use any of the decorative quilters fabrics too.
Step 6
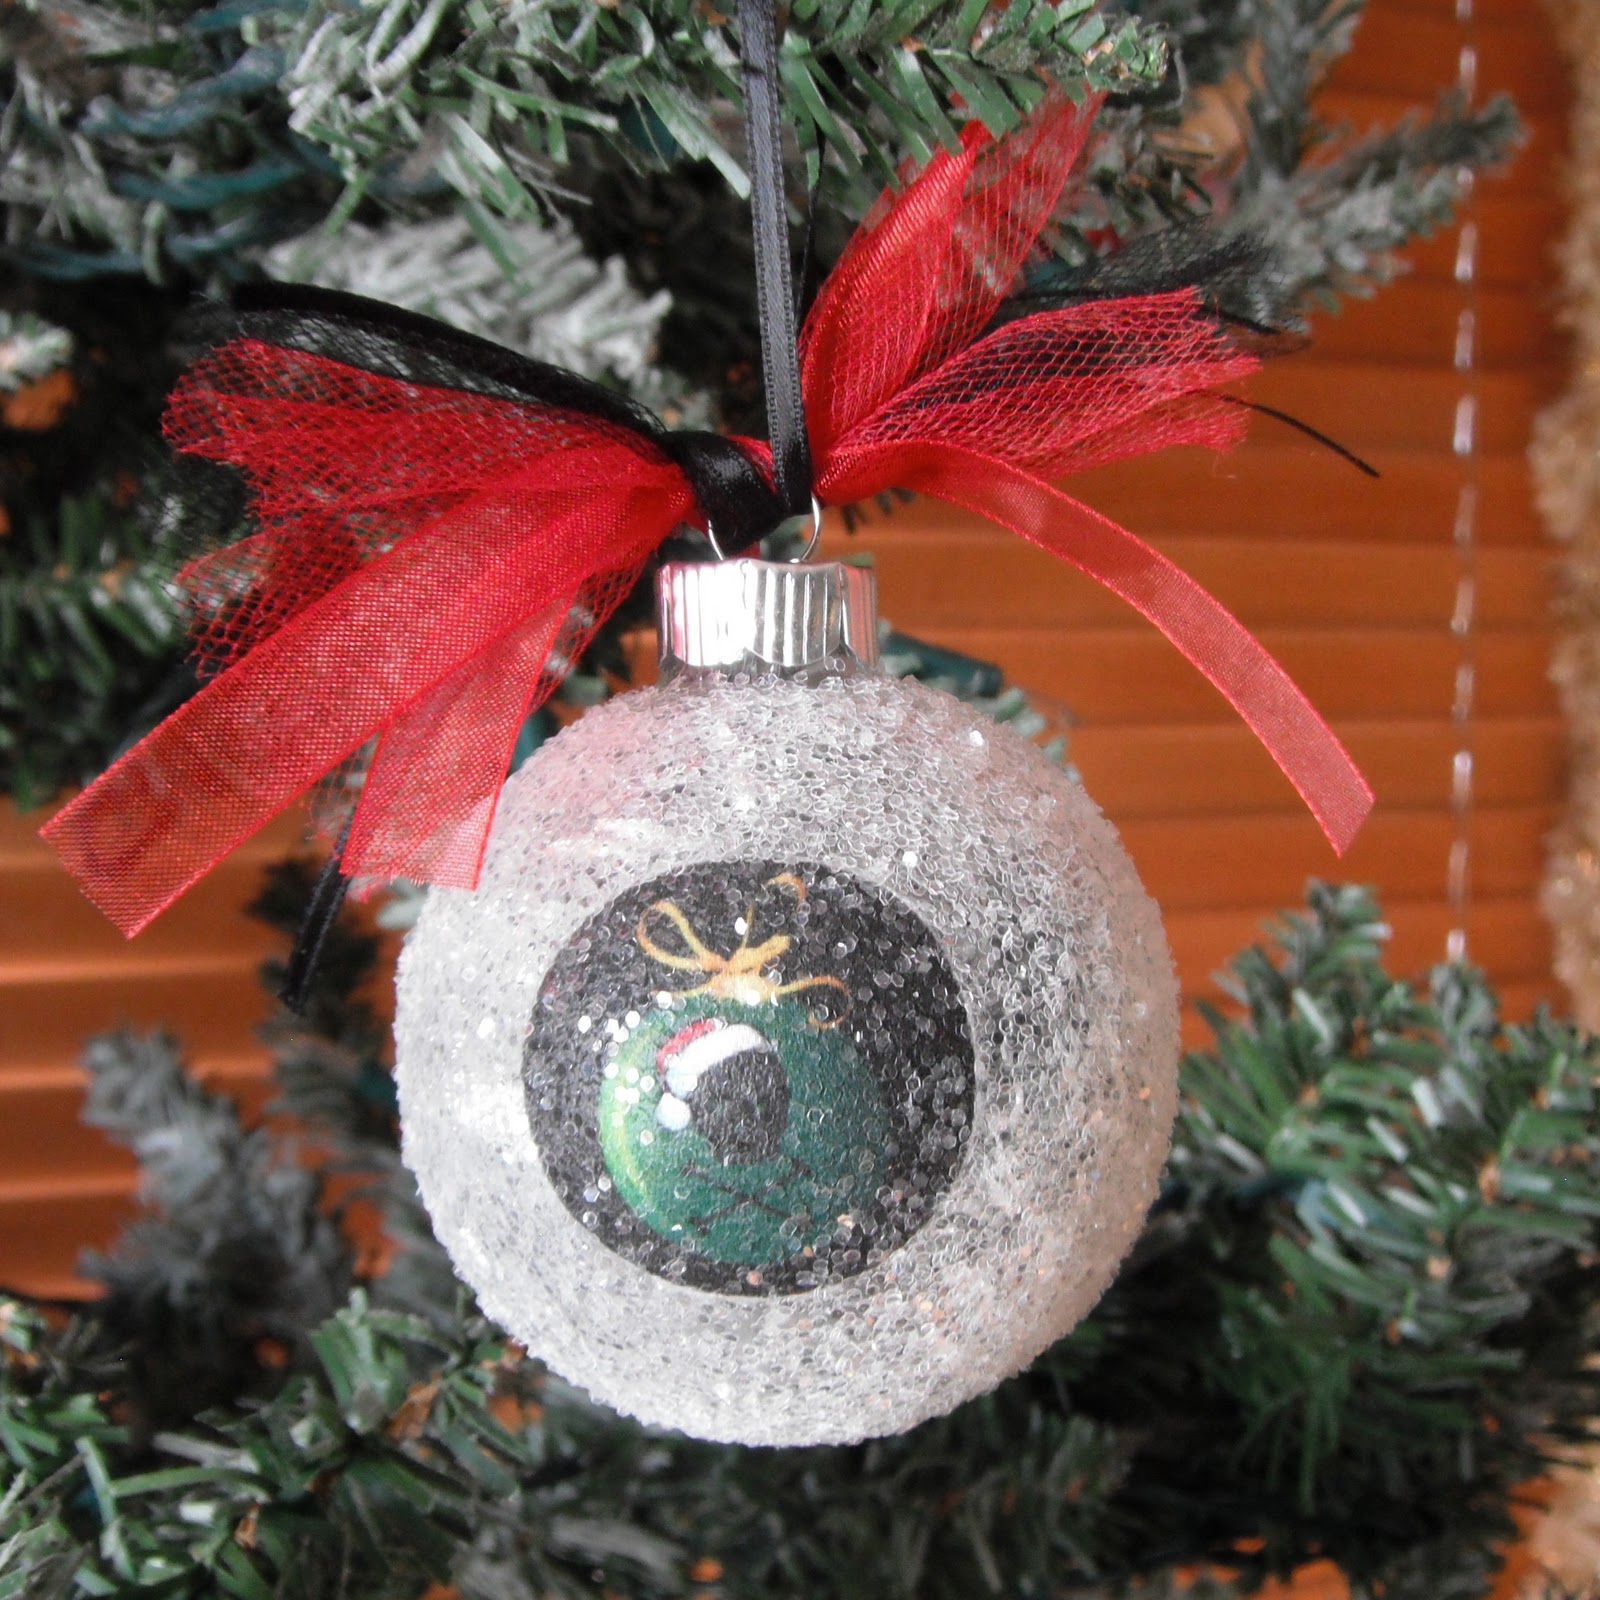
Pictures of ornaments.
They are dry and ready to coat with glitter.
Close up of an ornament with many fabric pieces
Front

Side

Back

3 1/4" Glass Ornaments


Glass Ornaments

5 5/8" Glass Ornaments

Just set them back into there containers so they were safe until I could finish them. I don't want my son (18 months) to break them, he has a habit of trying to play with Mommy's things : )
Step 7


Step 9


No comments:
Post a Comment