Supplies needed to make 3 - 12x12 fabric covered and lined books
2 Yards of 58" wide Polyester Shantung Silk (available at Joanns Fabric in lots of colors only $9.99 per yard)
4 Yards of Braided Trim in a matching color (This will line the front cover of each book to cover the seam, if you want to cover both front and back you will need 8 yards)
6 Sheets of 12x12 chipboard (Available in 6 pcs at Joanns in the scrapbooking section. This will be covered in fabric then glued to the insides of the book to hide the unfinished edges)
3 Bought 12 x 12 screw post albums (I removed the original paper and fabric so all that was left was the thick chipboard/Binders board I found mine at Big Lots for only $8 each)
A roll of Binders tape (acid free masking tape works too if your unable to find binders tape)
3 yards of Fusible Interfacing (I used 911F Pellon Fusible Featherweight) (Please note if your using quilters weight cotton or any thicker fabric you don't need Fusible Interfacing, this is just a pre caution so the glue doesn't seep through the fabric)
2 cans of spray glue or a tub of binders glue or homemade wheat paste
Hot glue
1 Bone tool to press the fabric flat and remove bubbles
Wax paper or freezer paper, wider than the book
2 Book Presses (I used 2 different sized ones for these books, one to press the 12x12 chipboard and one to press the album covers, you can use 1 press but I prefer to press the same sized items at the same time, otherwise things don't press evenly)
Dremel or Drill and bit to drill a hole slightly larger than screwposts
Step 1
Prep the albums, remove all the liners and fabric. Tape the hinges back together leaving a large enough area to fold over on itself (Mine should have been further apart, made it hard the press latter and assemble)


Step 2
Cut all your fabric.
To do this I laid out one of cover pieces on top of the fabric then cut all the way around it with about 1" to 1 1/2" extra on each side (This will get folded around the book and end up on the inside) You will need 6 of these (Mine ended up 18"x15").
For the spine I just laid the spine piece over the fabric and and cut it with only about a 1/2" extra on each side You will need 3 of these. (Mine ended up 5"x14")
For the inside of the book you will need a few different pieces.
The 1st is a 13 1/2" x 13 1/2" which will cover the 12x12 chipboard You will need 6 of these.
The 2nd you will need to cut 6 pieced of fabric that will cover the hinges and over lap the about a 1/4 of the way across the inside of the cover (Mine ended up being 13" x 16").
Step 3
For all pieces cut pieces of Fusible Interfacing slightly smaller than the fabric. You will need 6 for the front of the covers, 6 for the larger squares that line the inside of the covers, 6 of the hinge pieces and 3 for the spines. (You can skip this step if your using thicker fabric)
Step 4
Iron the Fusible Interfacing to the fabric as directed on the package
(You can skip this step if your using thicker fabric)

Iron, Iron, Iron lol Took forever to do 3 books worth of fabric

Raw edges are not important to be nice looking as they will be covered and hidden latter.
Spray glue or binder glue the cover pieces and the 12x12 pieces to the fabric

Trim the edges leaving plenty to fold over the pieces.


Step 7
Glue the edges and fold over, press lightly with finger, then go over and press flat with the bone tool. Making sure to get the bubbles out and the edges and creases really good. Do 2 opposite sides only. Do this with both the book covers and the 12x12 chipboard.


Cut 12 pieces of wax/freezer paper, 6 pieces that are about 13x13 and then 6 pieces that are slightly larger than the covers. Press all the pieces that were glued. I used two presses. I 1st laid a 12x12 chipboard piece down with the glued side up cover with a piece of wax paper, then I used another unused piece of chipboard to cover for the next layer do this until all pieces are in the press. Close the press tightly. Then in the larger press I did the same thing with the covers with layering them between wax paper and chipboard. Then press at least 1 hour.

These are my 4 presses that my husband made, he used a sheet of compressed board then cut 2 pieces for each press, The top left fits my 4"x6" Brag books, the top right is for Binders, the bottom left is for my screwpost 8 1/2" x 11" Books and the bottom right is for my screwpost 12" x 12" books.

Close up of 8 1/2" x 11" Press

Close up of 12"x12" Press

Close up of Binders Press
Glue other 2 sides of each piece and press again. (I trimmed off the corners before glueing these 2 sides)

Step 10
Glue on the pieces that cover the hinges, making sure to use the bone press to get out any bubbles. Press again.

Picture of what the cover should look like at this stage and the 12x12 piece of chipboard

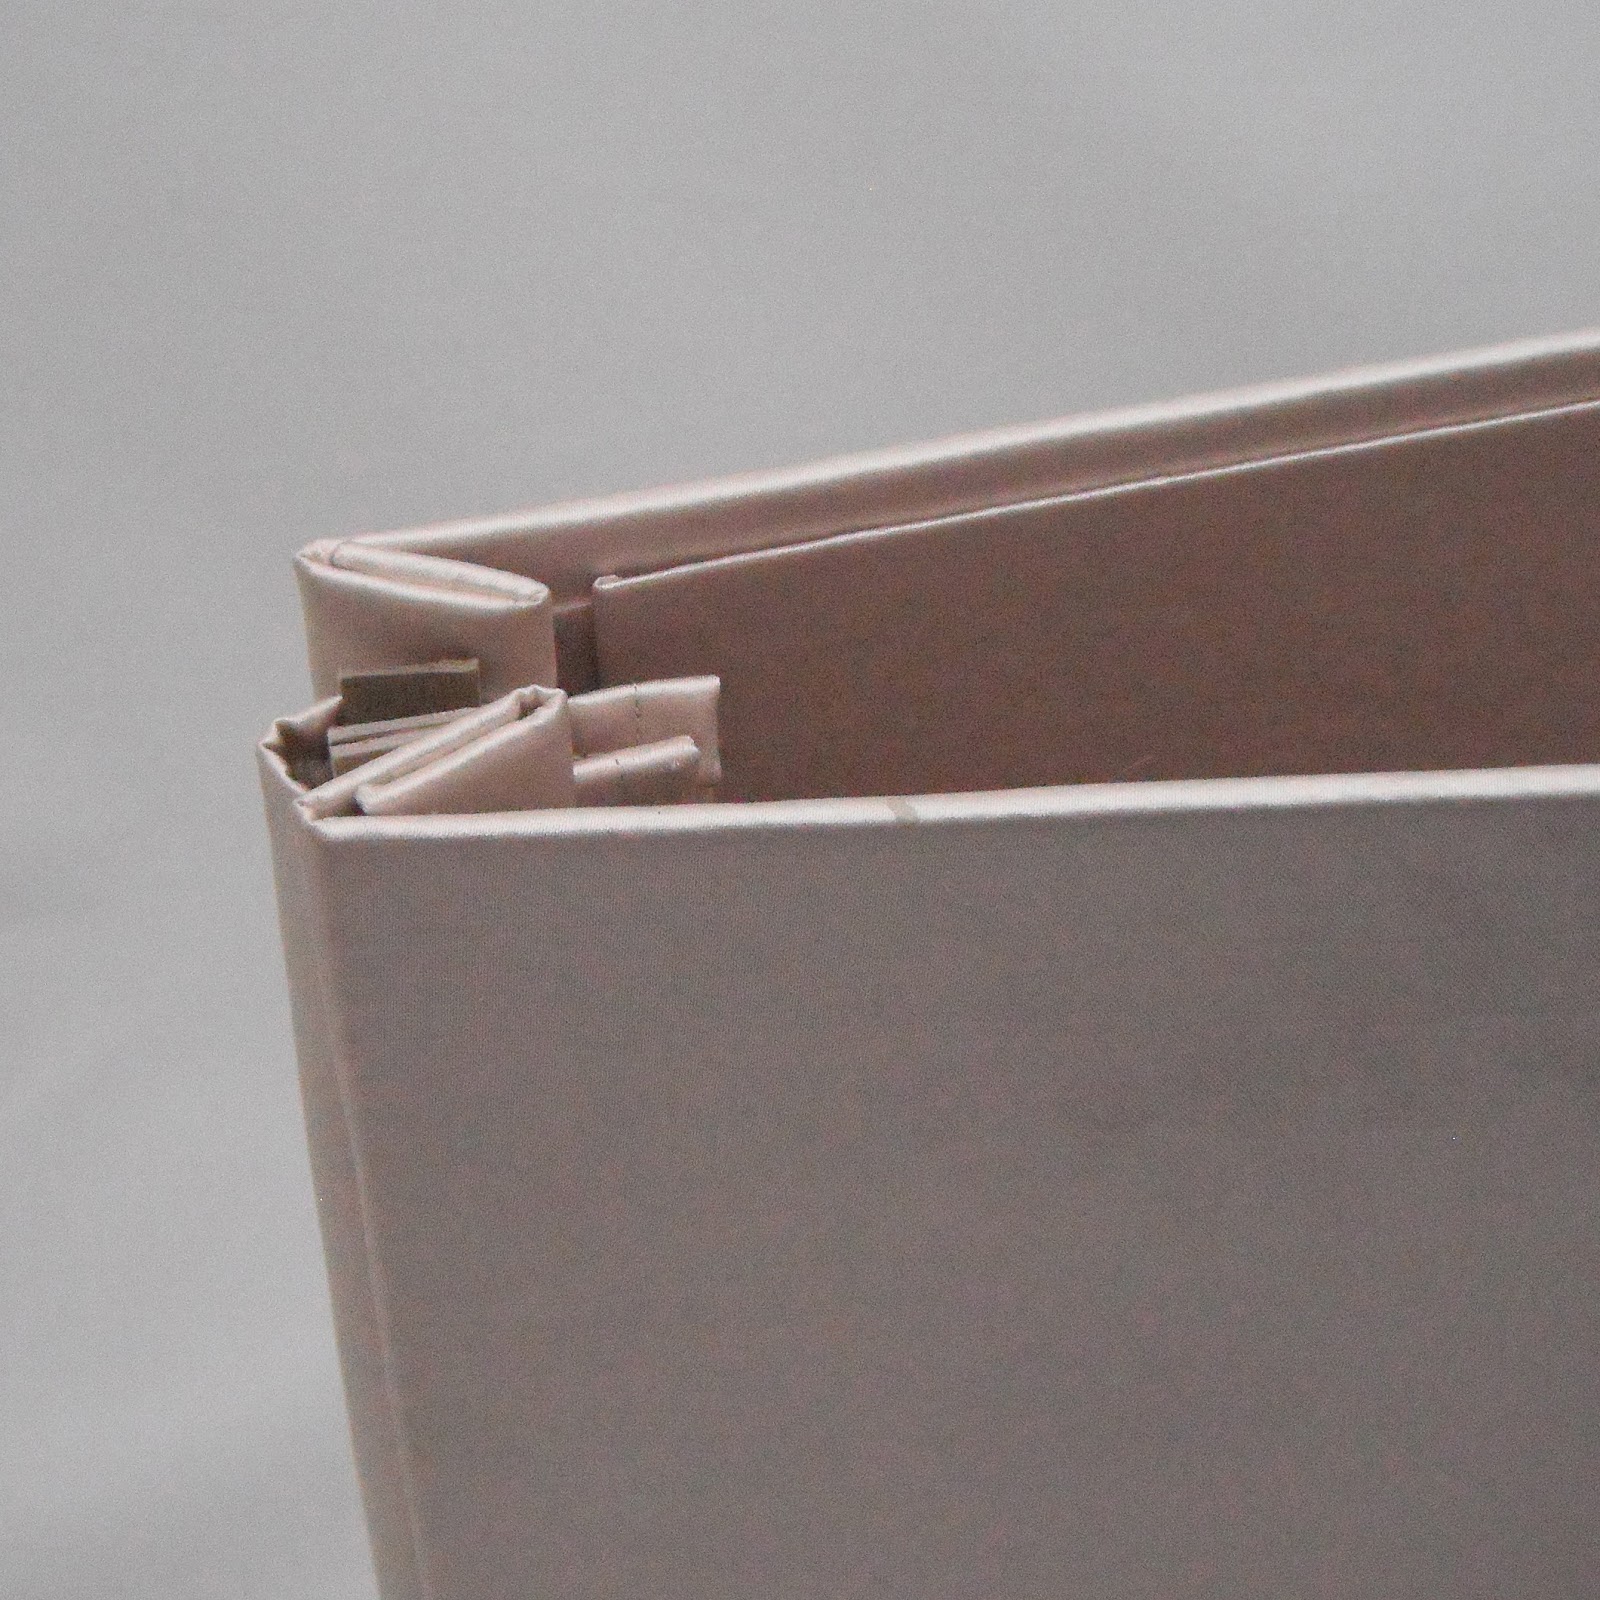
The inside and outside of the cover

Close up of the inside and outside of the cover
Step 11Glue the 12x12 piece onto the cover making sure to cover all the raw edges (I used Hot Glue making sure to really really press it quickly and firmly for each cover.) Once all 6 are glued press all of them atleast least 6 hours.

Step 12
Repress with folding the hinges so that they don't just pop open.

Mark and Drill Holes using the page insert sheets as the guide to make sure they are spaced correctly. (I use a box to place the cover on then then drill all the way through the cover into the box)


Step 14
Glue on trim covering the area around the inside, I used hot glue and only did small sections at a time then pressed it firmly with my finger before starting another 4-6" strip.


Step 15
Sew the Spines, I double folded my edges so that there were no raw edges.


Step 16
Mark where the screw posts will go through, I put a dab of fray stop on mine then cut a small slit for the post to come through

YEAH were at the end not just assemble the book : )

I used pieces of chipboard as spacers since the customer was supplying their own pages


This project I did over 3-4 days with all the pressing and dry times.
If you have any questions please ask
Thank you for looking.