Showing posts with label Ribbon. Show all posts

Tuesday, January 28, 2020

How to Make a Satin Ribbon Bow Tutorial DIY perfect as an accent for Wed...


This DIY video demonstrates how EASY it is to create a lovely Medium Sized Satin Ribbon Bow for crafts, great as an accent on wedding or prom items. For a Medium sized bow you will need to gather (links to items used below): - 7/8" Satin Ribbon - https://amzn.to/2uGwF6D cut into 3 pieces, 4 3/4", 3" and 1 1/8" - Flatback Rhinestone - https://amzn.to/2vqPLhH - Hot glue gun - https://amzn.to/2uDMsTK - Hot Glue Sticks - https://amzn.to/36rJX4p - Scissors - https://amzn.to/36yEVD0 - Lighter - https://amzn.to/2RUeiDh DISCLAIMER: This video and description contains affiliate links, which means that if you click on one of the product links, I’ll receive a small commission.

Medium and Large Bows


And if you don't want to make it yourself I make and sell custom wedding florals on my website. COMMENT BELOW and let me know what you think! I'm new to video tutorials so constructive criticism is appreciated so I can improve. Check out my other episodes of the WEDDING DECORATIONS DIY SERIES and make sure you subscribed to my channel to see future tutorials. Find me at: https://www.facebook.com/DarkRoseTrea... https://darkrosefloraldesignboutique.... https://www.etsy.com/shop/SandersBaby... http://www.spoonflower.com/profiles/d... https://www.amazon.com/handmade/Dark-... https://www.bonanza.com/booths/DarkRo... https://www.instagram.com/darkrosetre... https://www.facebook.com/DarkRoseFlor... https://twitter.com/darkroseart https://www.pinterest.com/darkroseart/ https://www.flickr.com/photos/darkros... http://darkrosetreasures.blogspot.com

Monday, January 27, 2020

How to Make a Boutonniere Tutorial DIY for Wedding or Prom dance Calla Lily


This DIY video demonstrates how EASY it is to create a lovely boutonniere for a wedding or prom with a real touch calla lily, satin ribbons and feathers. For a boutonniere you will need to gather (links to items used below): - A real touch calla lily - https://amzn.to/2U2GWou - 7/8" Satin Ribbon - https://amzn.to/2uGwF6D - Small Ribbon bow - https://amzn.to/2uGxXyv - Flatback Rhinestone - https://amzn.to/2vqPLhH - Rooster Feathers - https://amzn.to/3aIdjPn - Hot glue gun - https://amzn.to/2uDMsTK - Hot Glue Sticks - https://amzn.to/36rJX4p - Rhinestone Ribbon - https://amzn.to/2Ubwuv9 - Boutonniere Pin - https://amzn.to/37xZhgW - Wire Cutters - https://amzn.to/2uxSeGL - Scissors - https://amzn.to/36yEVD0 - Lighter - https://amzn.to/2RUeiDh DISCLAIMER: This video and description contains affiliate links, which means that if you click on one of the product links, I’ll receive a small commission. And if you don't want to make it yourself I make and sell custom wedding florals on my website. COMMENT BELOW and let me know what you think! This is my 1st video tutorial so constructive criticism is appreciated so I can improve. Check out my other episodes of the CALLA LILY WEDDING SET DIY SERIES and make sure you subscribed to my channel to see future tutorials.


Finished Boutonniere from the tutorial


Boutonniere from this tutorial with another matching larger boutonniere from an upcoming tutorial.
 My Tutorial space setup.
 Some of my MANY MANY ribbons I use for my crafting.

Find me at: https://www.facebook.com/DarkRoseTrea... https://darkrosefloraldesignboutique.... https://www.etsy.com/shop/SandersBaby... http://www.spoonflower.com/profiles/d... https://www.amazon.com/handmade/Dark-... https://www.bonanza.com/booths/DarkRo... https://www.instagram.com/darkrosetre... https://www.facebook.com/DarkRoseFlor... https://twitter.com/darkroseart https://www.pinterest.com/darkroseart/ https://www.flickr.com/photos/darkros... http://darkrosetreasures.blogspot.com

Thursday, December 1, 2011

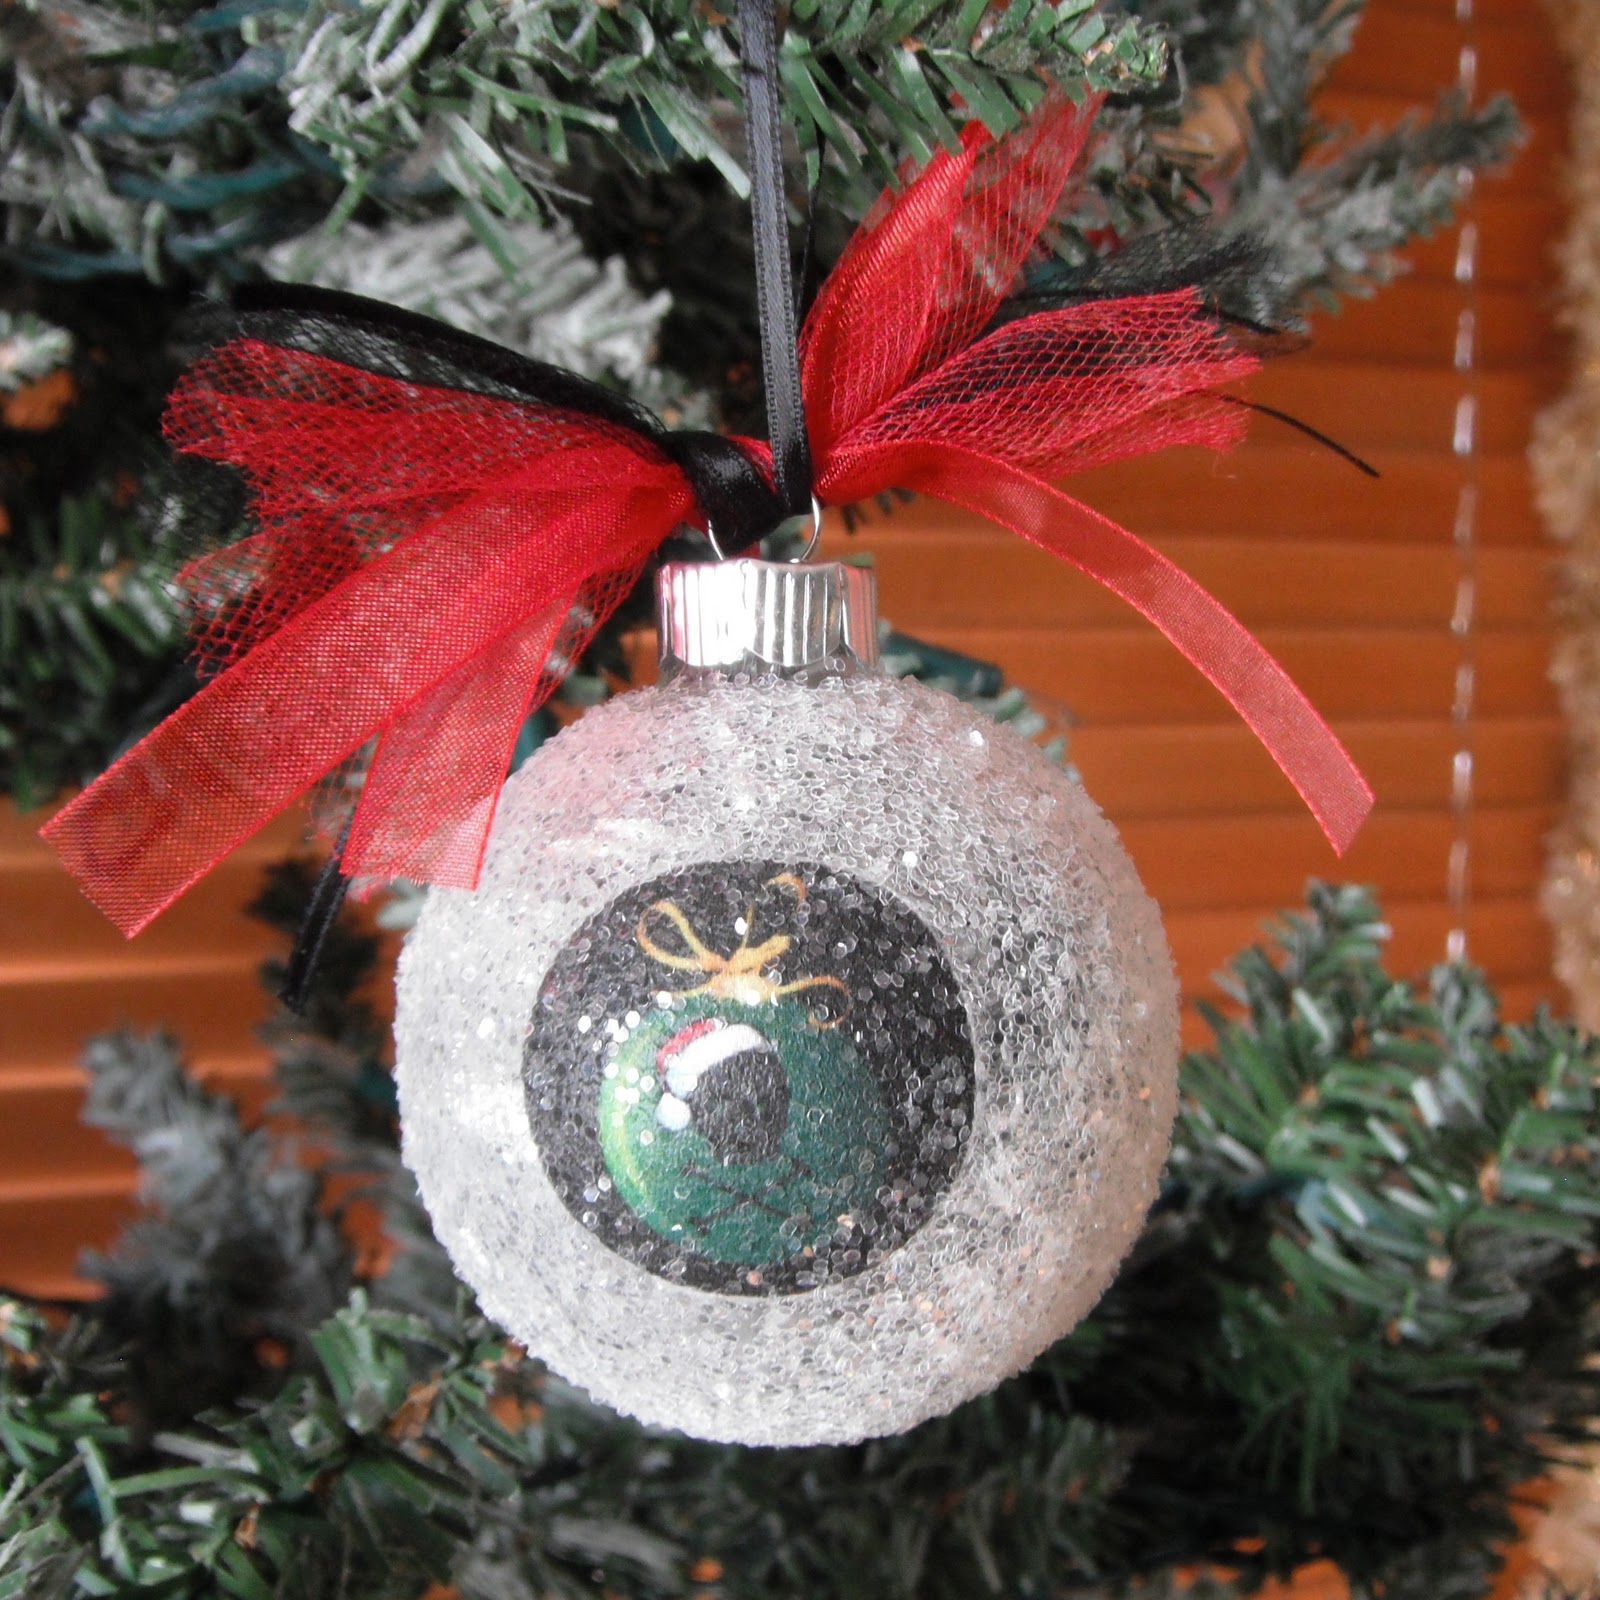
Fabric Decoupage Glass Ball Ornament Tutorial Diy

Fun family project!! Ages 5 and Up. Create your own ornaments in any design to make your house more festive and unique. Or give them as gifts! Great way to use up your fabric scraps. 

What you'll need:

  • Clear ball ornaments (I experimented with 2 sizes, 3 1/4" and 2 5/8")
  • Scrap fabric cut into different shapes (I used circles and marquise shapes)
  • Decoupage Solution either Mod Podge or Craft glue (I used Mod Podge Matte)
  • Water
  • Paintbrush
  • Mod Podge or Clear acrylic sealer
  • Clear Glitter
  • Ribbon
  • Sparkle Garland in different Colors (Optional)
  • Scissors
  • Glue Gun and Glue Sticks

How to make it:

  1. Remove hanger tops and set aside. Place ornaments onto an upside down empty egg carton.
  2. Cut fabric to shapes and sizes desired.
  3. Cover work area with paper for easy clean up.
  4. Place the glitter in on a large tray (Cookie sheet works great)
  5. Open Mod Podge pour small amount into a container. Or Mix 2 parts white glue and 1 part water to make a simple decoupage solution. Should be thin and paintable.
  6. Brush the Decoupage Solution onto the back of 1 piece of fabric. Place the fabric piece on the ornament, then paint more solution over the top of the fabric. Repeat with as many pieces as you want all over ornament and let dry completely.
  7. When dry coat the entire ornament in Mod Podge (minus the area the hanger gets reattached to) and roll in the clear glitter. It will look cloudy at first but it dries clear!
  8. When it is completely dry fill the ornament with cut stripes of sparkle garland. 
  9. Reattach hangers tops to the ornaments and tie ribbons onto hanger loops to hang from your tree. You can accent the tops with lots of ribbon, bows, feathers or any material you like. 

Step 2
My Cut Fabrics
Some still need to be trimmed down. I custom printed my fabric into the shades, sizes and designs I wanted.
But you can just as easily use any of the decorative quilters fabrics too.

Step 6
Pictures of ornaments. 
They are dry and ready to coat with glitter.

Close up of an ornament with many fabric pieces
Front


Side


Back


3 1/4" Glass Ornaments


Glass Ornaments


5 5/8" Glass Ornaments


Just set them back into there containers so they were safe until I could finish them. I don't want my son (18 months) to break them, he has a habit of trying to play with Mommy's things : )


Step 7


Step 9