Showing posts with label Baby Set. Show all posts

Sunday, April 1, 2012

Tuesday, February 7, 2012

New Finish Items

It's been awhile since my last post, were in the process of trying to buy a house so it's a little crazy.
Here are a few things I've recently made:
POT HOLDERS


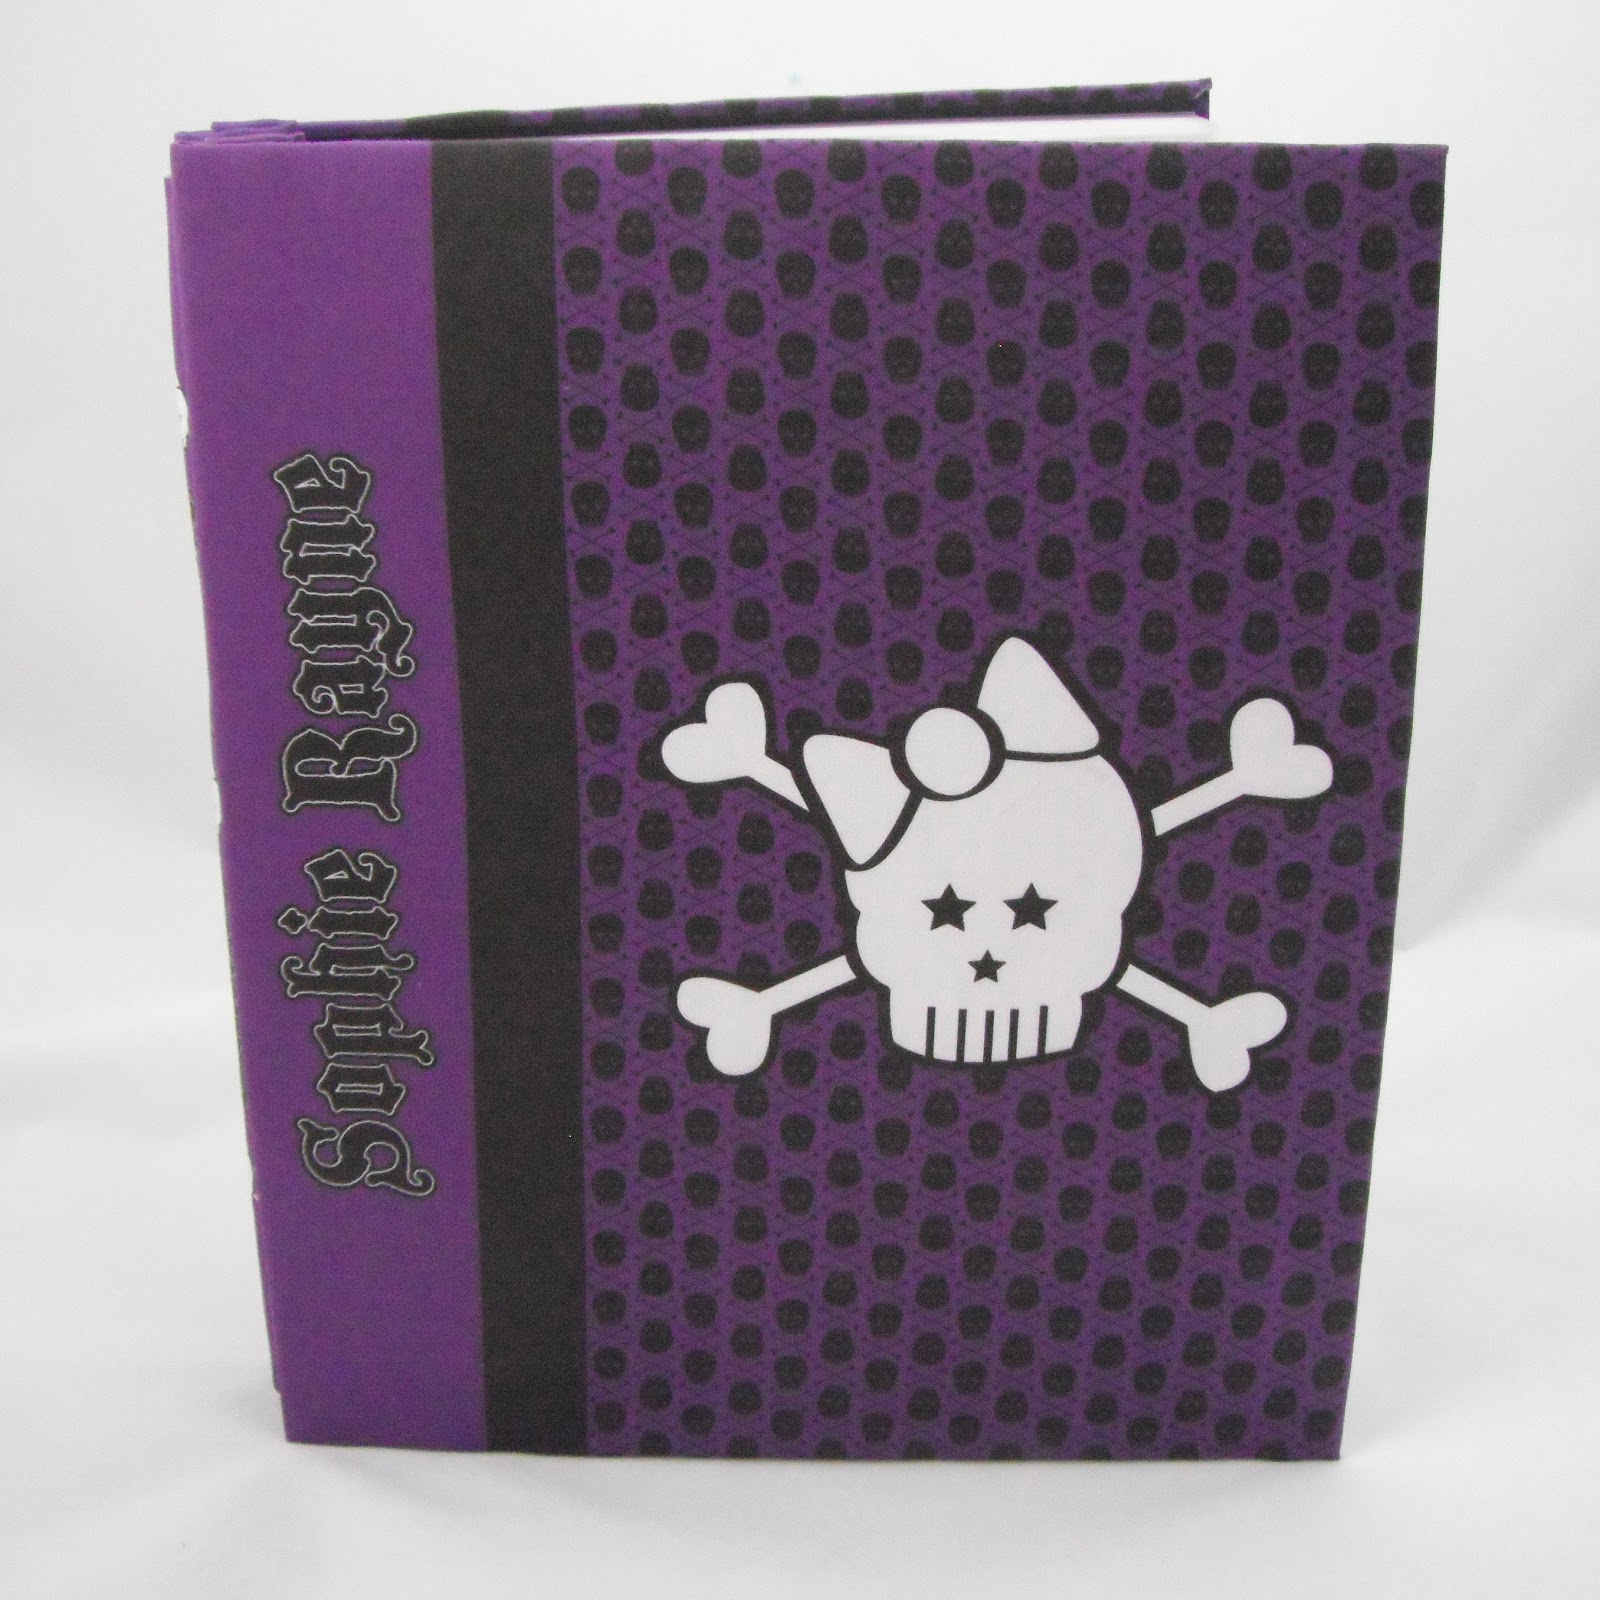
5 Piece Baby Set


8 Piece Baby Set

Saturday, December 24, 2011

New Photo Ornaments

Just finished and took pictures this morning : )
Merry Christmas, Happy Holidays etc : )

My son Merlin 9 made the design in art class with crayons, I scanned it into my computer and had it printed on fabric then I had it into ornaments for him to give as gifts this year.

My son Kolton's 1st birthday cake keepsake ornaments.

Ah my family, Next year I'm going to be in the picture instead of taking the picture. LOL

My baby Brother : )

Twin girls that are a friends kids : ) Cuties

My Uncle Mark and his Wife Michelle,
This is a keepsake engagement photo ornament.

All of my son Merlin for him to give as gifts : )
3 glass ornaments and 3 syrofoam ornaments

My son Kolton, this is a picture of his 1st Christmas.

A friends daughter on her 1st Christmas

Her 2nd Christmas : )

More of her 2nd Christmas with her parents too.

More of her 2nd Christmas with her parents too.


My lil brother and his mother : )

These are some of my favorites, 
I took my 3 favorite pictures of my sisters art.
All of them are done in pastels.
And made art photo ornaments for her gift this year : )

Tracy Sanders
Pastel art 
printed on fabric and 
made into Kimekomi Styrofoam art ornaments

Tracy Sanders
Pastel art 
printed on fabric and 
made into Kimekomi Styrofoam art ornaments


Tracy Sanders
Pastel art 
printed on fabric and 
made into Kimekomi Styrofoam art ornaments


Another of my lil brother (asleep) 

Thursday, December 1, 2011

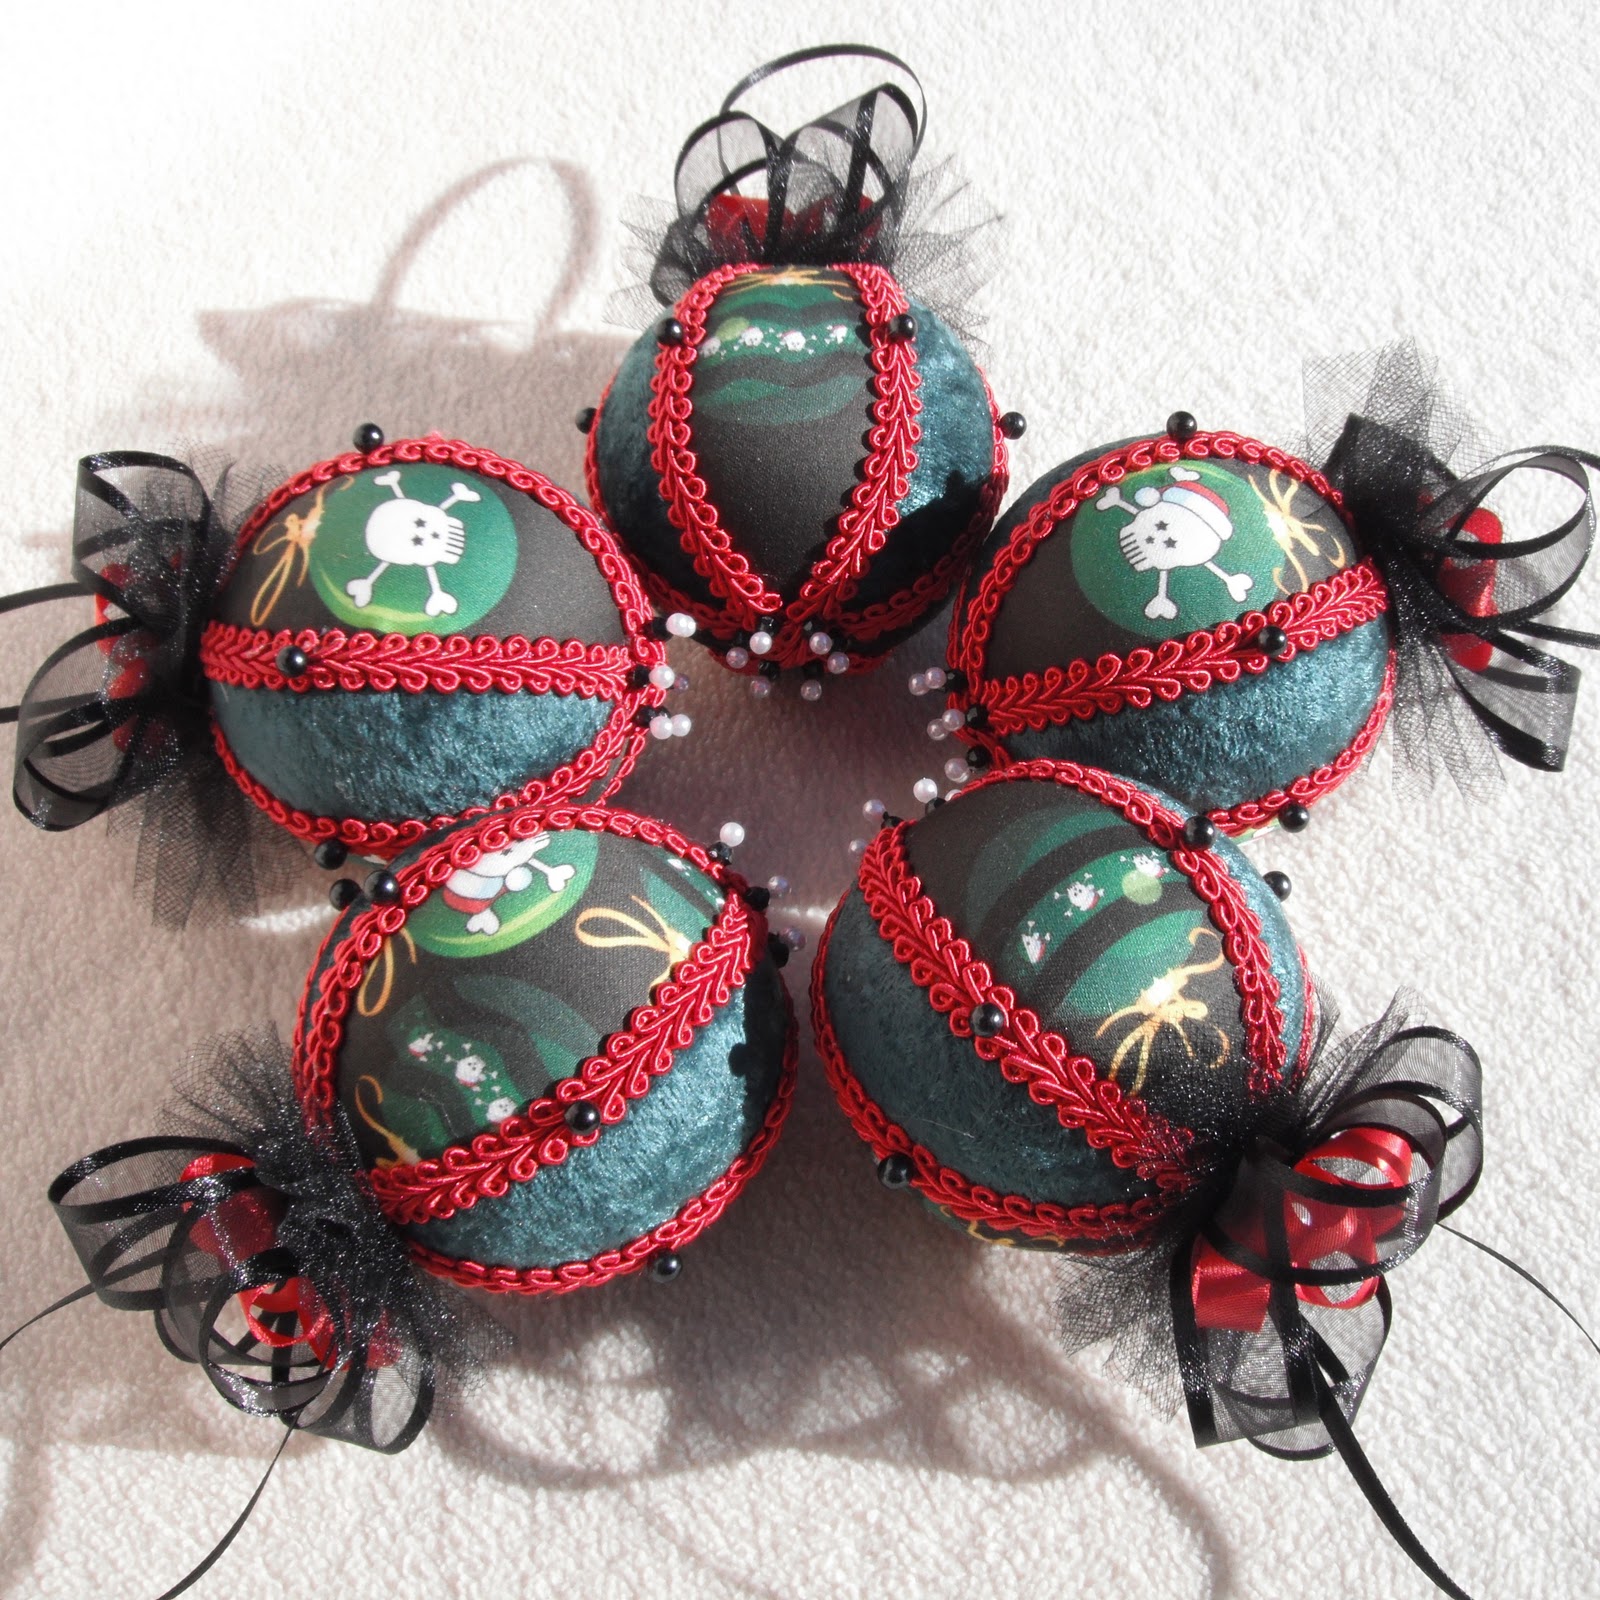
Tutorial for Syrofoam Kimekomi Fabric Christmas Ball Ornament Diy

Fun family project!! Ages 5 and Up. Create your own ornaments in any design to make your house more festive and unique. Or give them as gifts! Great way to use up your fabric scraps. 

What you'll need:

  • Styrofoam balls (I used 3" found them on Amazon https://amzn.to/3BX9pin 40 for under $15 much cheaper than local craft store)
  • Decorative fabric cut into marquise shapes.
  • Minky, velvet, or other solid color fabric cut into marquise shapes.
  • Ribbon assorted sized for bows on top (I used 5/8" Organza Satin Edge Ribbon 1 - 13 to 20" per ornament and 3/8" Solid colored Ribbon 1 - 10 to 15" per ornament)
  • 1 - 8 1/2" Ribbon to hang per ornament (I used a combination of 1/8" satin ribbon and 3/8" satin ribbon)
  • 2" x 24" Stripes of Tulle - 1 per ornament (Optional I used Red and Black Matt)
  • Fabric Scissors (https://amzn.to/2WXa2Js)
  • Craft Knife (https://amzn.to/3l4XGY4)
  • Trim assorted colors and sizes to match your fabric, 3 - 9" pieces per ornament (I used a combination of 3/8" -1/2" Gimp Cord Trim, 3/8" Eyelet Trims, 1/8" Satin Trim, 4mm Strung Craft Pearls, and Straight Cord Trims)
  • Glue Gun and Glue Sticks (https://amzn.to/3zUTi41)
  • Lots of corsage pins at least 14 per ornament (I used a combination of 1 1/2" Round Pearl Head Corsage Pins, 1 1/4" Round Royal Blue Round Pearl Head Corsage Pins, Lomey 2" Black, White and Pewter Pearl Round Head Corsage Pins https://amzn.to/3tqdgRJ)
  • Pen
  • Assortment of beads for tassels (Optional)

How to make it:

1. Locate the center of the top and bottom of the styrofoam ball. Mark with a dot (most balls with have an imprint at these points where the ball was molded) Mark a piece of trim at 1 /14", 3", 4 1/4", 6". 7 1/4" and 9" wrap the around the ball and mark those placements onto the ball. Using the Dots on top and bottom connect them round using those placements you should end up with 6 divided sections. 3 smaller 3 larger.


2. Using a craft knife make slits into the styrofoam following the lines.

3. Cut fabric using the pattern trim as needed.


4. Using a dull knife or small icing spatula press the edges of the fabric into the ball. I start with the larger 3 sections and use my decorative fabric so the placement is just right. Then I go back and use the soft fabric and tuck it all in nice and tight. 


5. Using one of the strips of trim start at the top where 2 sections connect at the slit and hot glue it to the ball going all the way around. Trim off any extra and hot glue it in place.


6. Continue repeat the process 2 more times until all the slits are covered. 


7. Find the center of each trim and place a pearl headed pin to accent the ornament. (6 needed).


8.For the bottom take 6 pearl pins and put one bead on each then connect to the bottom where the trims connect in a circle design evenly spaced.

9. For the top start with a large pearlized pin put a bead then loop on the smaller piece of ribbon to create the inner bow loop on the 1/8" piece of ribbon to create the hanger, then loop on the larger piece of ribbon to create the outer bow.


10. Add the Strip of tulle onto the pin too looping it as you go to give a ruffled look.
11. Put hot glue on the top of the ornament and press the pin with bow through before it dries.
12. Create 3 dangles if desired by stalking pretty beads onto either pieces of string or head pins. Make sure the fatter beads are toward the bottom. Attach each string of beads to a corsage pin and hot glue into place on the bottom of the ornament in the centered in the middle of the 6 beaded pins. 


There are lots of different variations of styofoam ball ornaments. Have fun and experiment!